Python应用非常广泛,人工智能领域、自动化、Web开发中都有着不错的生态支持。
在Web开发领域,Djang和Flask作为目前主流的Web框架社区热度非常高,Django比Flask体积大很多,可以搭建大型的Web应用服务器,所以最近也在学这个框架。
其实Django东西并不多,相反写起来有点复杂。Django REST framework(后面简称DRF)就出现了,以RESTful作为接口命名规范,在操作数据时加入序列化器简化数据校验,字段返回等操作,封装视图层简化接口编写和参数返回,提供认证、权限、限流、过滤、排序、分页、异常处理、API接口文档等组件,功能非常强大,可以说仅仅Django是一个基石,DRF才是真正的开发必备。
下面从0到1,总结自己学习DRF的过程。
- Django REST framework 入门
- Django REST framework 序列化器
- Django REST framework 请求响应 视图 路由
- Django REST framework 八大组件
环境准备
- Windows 10
- Python 3.6
- Mysql 5.7
- Django 3.2
- Pycharm 2019.3
安装好Python3.6后,安装pipenv做虚拟环境,以后的库就放在虚拟环境
1
2
3
4
5
6
7
8
9
10
11
12
13
14
15
16
17
18
19
20
21
22
23
24
25
26
27
28
29
30
31
32
33
34
35
36
37
38
39
40
41
42
43
44
45
46
47
48
49
50
51
52
53
54
55
56
57
58
59
60
61
62
63
64
65
66
67
68
69
70
71
72
73
| Microsoft Windows [版本 10.0.18363.1556]
(c) 2019 Microsoft Corporation。保留所有权利。
# 创建env目录作为虚拟环境地址
D:\Environment\env>dir
驱动器 D 中的卷是 Program
卷的序列号是 654B-777A
D:\Environment\env 的目录
2022/03/24 09:56 <DIR> .
2022/03/24 09:56 <DIR> ..
0 个文件 0 字节
2 个目录 283,803,500,544 可用字节
# 安装pipenv
D:\Environment\env>pip install pipenv
Looking in indexes: http://pypi.douban.com/simple
Requirement already satisfied: pipenv in d:\python3.6\lib\site-packages (2022.1.8)
Requirement already satisfied: virtualenv-clone>=0.2.5 in d:\python3.6\lib\site-packages (from pipenv) (0.5.7)
Requirement already satisfied: certifi in d:\python3.6\lib\site-packages (from pipenv) (2021.10.8)
Requirement already satisfied: pip>=18.0 in d:\python3.6\lib\site-packages (from pipenv) (21.3.1)
Requirement already satisfied: virtualenv in d:\python3.6\lib\site-packages (from pipenv) (20.13.3)
Requirement already satisfied: setuptools>=36.2.1 in d:\python3.6\lib\site-packages (from pipenv) (59.6.0)
Requirement already satisfied: importlib-metadata>=0.12 in d:\python3.6\lib\site-packages (from virtualenv->pipenv) (4.8.3)
Requirement already satisfied: importlib-resources>=1.0 in d:\python3.6\lib\site-packages (from virtualenv->pipenv) (5.4.0)
Requirement already satisfied: platformdirs<3,>=2 in d:\python3.6\lib\site-packages (from virtualenv->pipenv) (2.4.0)
Requirement already satisfied: filelock<4,>=3.2 in d:\python3.6\lib\site-packages (from virtualenv->pipenv) (3.4.1)
Requirement already satisfied: six<2,>=1.9.0 in d:\python3.6\lib\site-packages (from virtualenv->pipenv) (1.11.0)
Requirement already satisfied: distlib<1,>=0.3.1 in d:\python3.6\lib\site-packages (from virtualenv->pipenv) (0.3.4)
Requirement already satisfied: typing-extensions>=3.6.4 in d:\python3.6\lib\site-packages (from importlib-metadata>=0.12->virtualenv->pipenv) (4.1.1)
Requirement already satisfied: zipp>=0.5 in d:\python3.6\lib\site-packages (from importlib-metadata>=0.12->virtualenv->pipenv) (3.6.0)
D:\Environment\env>pipenv graph
Warning: No virtualenv has been created for this project yet! Consider running `pipenv install` first to automatically generate one for you or see `pipenv install --help` for further instructions.
# 安装Django,不加版本就是默认最新版
D:\Environment\env>pipenv install django
Creating a virtualenv for this project...
Pipfile: D:\Environment\env\Pipfile
Using D:/python3.6/python.exe (3.6.2) to create virtualenv...
[ =] Creating virtual environment...created virtual environment CPython3.6.2.final.0-64 in 3139ms
creator CPython3Windows(dest=C:\Users\Luffy\.virtualenvs\env-cX5X2ZN8, clear=False, no\_vcs\_ignore=False, global=False)
seeder FromAppData(download=False, pip=bundle, setuptools=bundle, wheel=bundle, via=copy, app\_data\_dir=C:\Users\Luffy\AppData\Local\pypa\virtualenv)
added seed packages: pip==21.3.1, setuptools==59.6.0, wheel==0.37.1
activators BashActivator,BatchActivator,FishActivator,NushellActivator,PowerShellActivator,PythonActivator
Successfully created virtual environment!
Virtualenv location: C:\Users\Luffy\.virtualenvs\env-cX5X2ZN8
Creating a Pipfile for this project...
Installing django...
Adding django to Pipfile's [packages]...
Installation Succeeded
Pipfile.lock not found, creating...
Locking [dev-packages] dependencies...
Locking [packages] dependencies...
Locking...Building requirements...
Resolving dependencies...
Success!
Updated Pipfile.lock (85c883)!
Installing dependencies from Pipfile.lock (85c883)...
================================ 0/0 - 00:00:00
To activate this project's virtualenv, run pipenv shell.
Alternatively, run a command inside the virtualenv with pipenv run.
# 查看虚拟环境中安装的库
D:\Environment\env>pipenv graph
Django==3.2.12
- asgiref [required: >=3.3.2,<4, installed: 3.4.1]
- typing-extensions [required: Any, installed: 4.1.1]
- pytz [required: Any, installed: 2022.1]
- sqlparse [required: >=0.2.2, installed: 0.4.2]
# 进入虚拟环境
D:\Environment\env>pipenv shell
Launching subshell in virtual environment...
Microsoft Windows [版本 10.0.18363.1556]
(c) 2019 Microsoft Corporation。保留所有权利。
# 查看虚拟环境实际位置
(env-cX5X2ZN8) D:\Environment\env>pipenv --venv
C:\Users\Luffy\.virtualenvs\env-cX5X2ZN8
(env-cX5X2ZN8) D:\Environment\env>
|
创建项目
直接使用pipenv创建Django项目,然后用PyCharm打开即可
1
2
3
4
5
6
7
8
9
10
11
12
13
| (env-cX5X2ZN8) D:\Environment\env>django-admin startproject drfdemo
(env-cX5X2ZN8) D:\Environment\env>dir
驱动器 D 中的卷是 Program
卷的序列号是 654B-777A
D:\Environment\env 的目录
2022/03/24 10:53 <DIR> .
2022/03/24 10:53 <DIR> ..
2022/03/24 10:53 <DIR> drfdemo
2022/03/24 10:51 151 Pipfile
2022/03/24 10:51 2,069 Pipfile.lock
2 个文件 2,220 字节
3 个目录 283,753,816,064 可用字节
(env-cX5X2ZN8) D:\Environment\env>
|
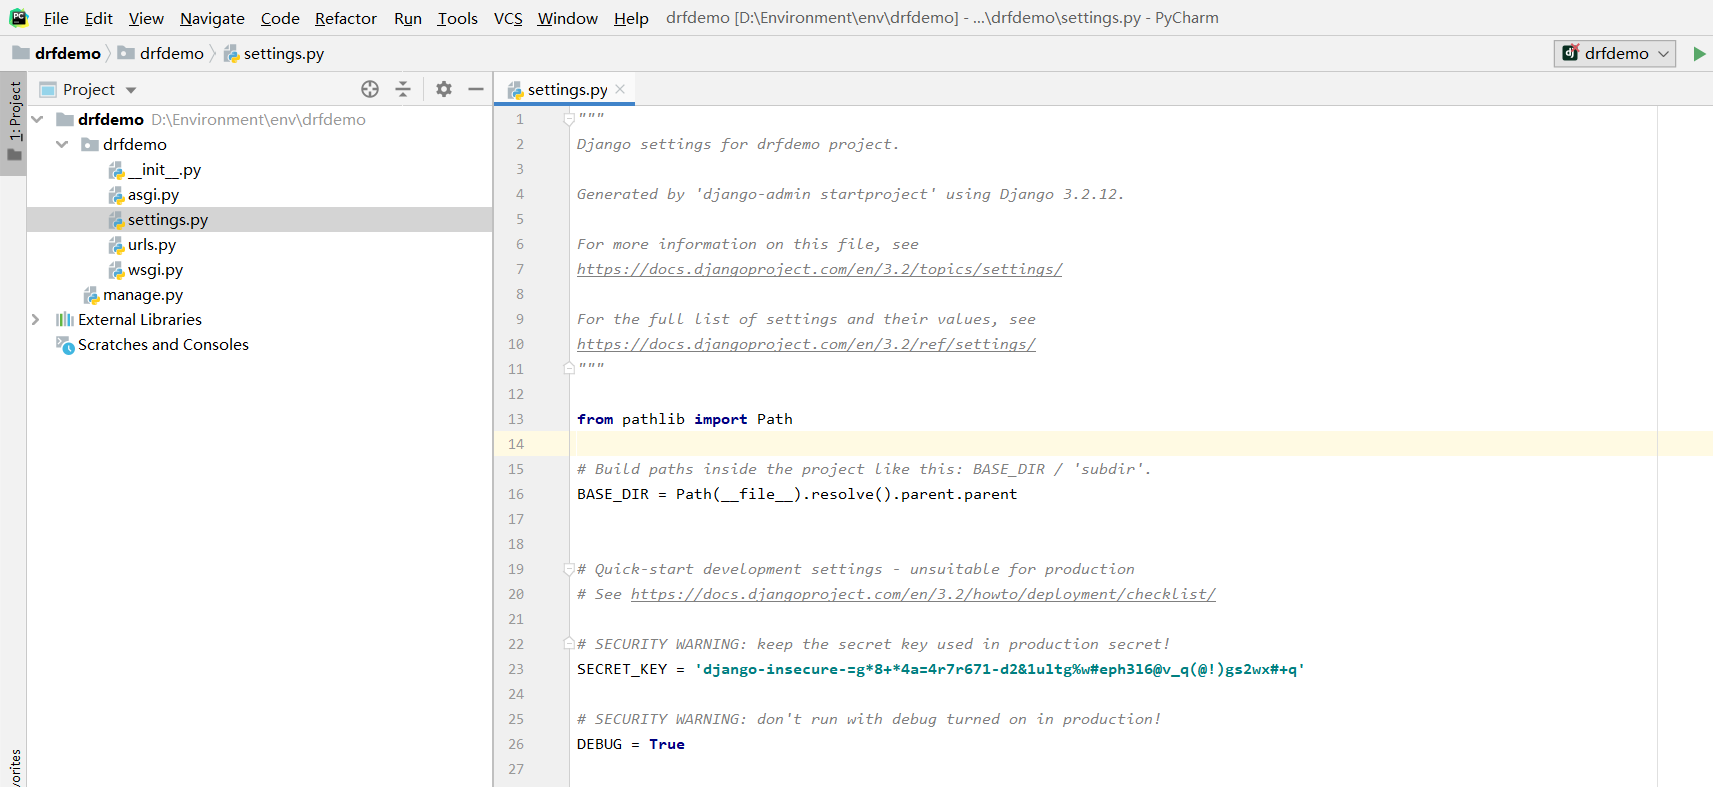
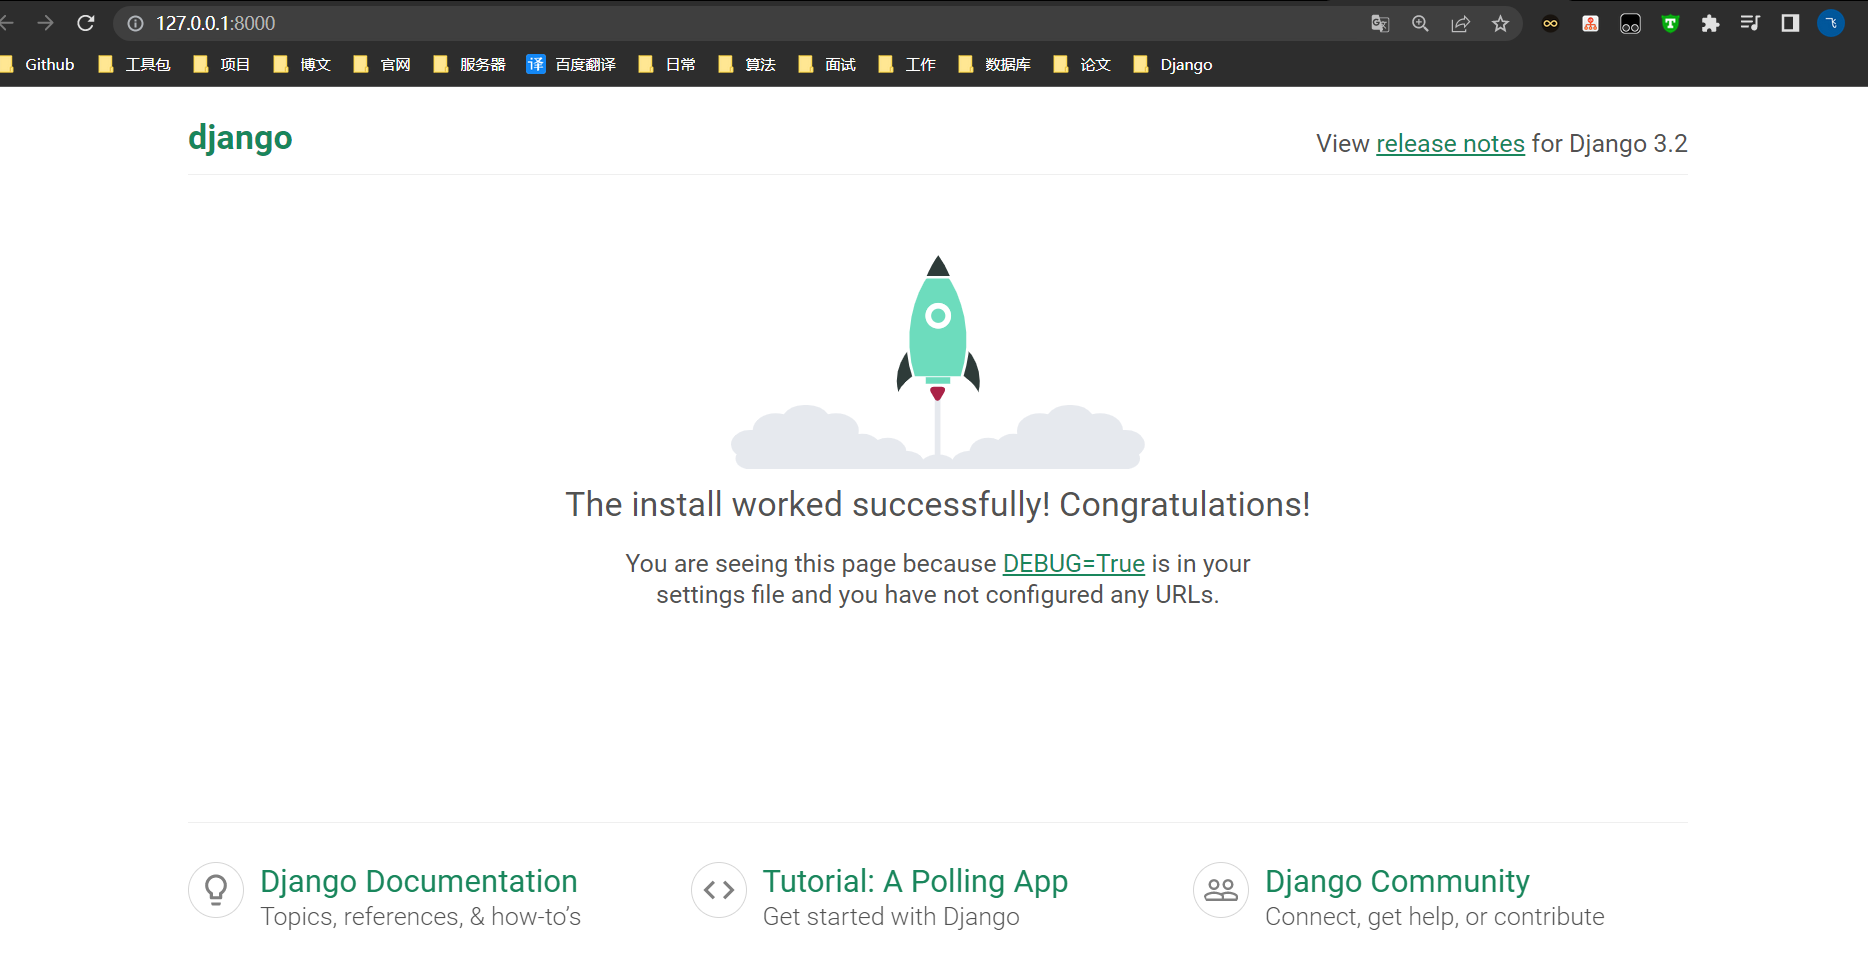
在 settings.py 中导入os包,启动Django项目,即可在浏览器中看到启动成功
常规配置
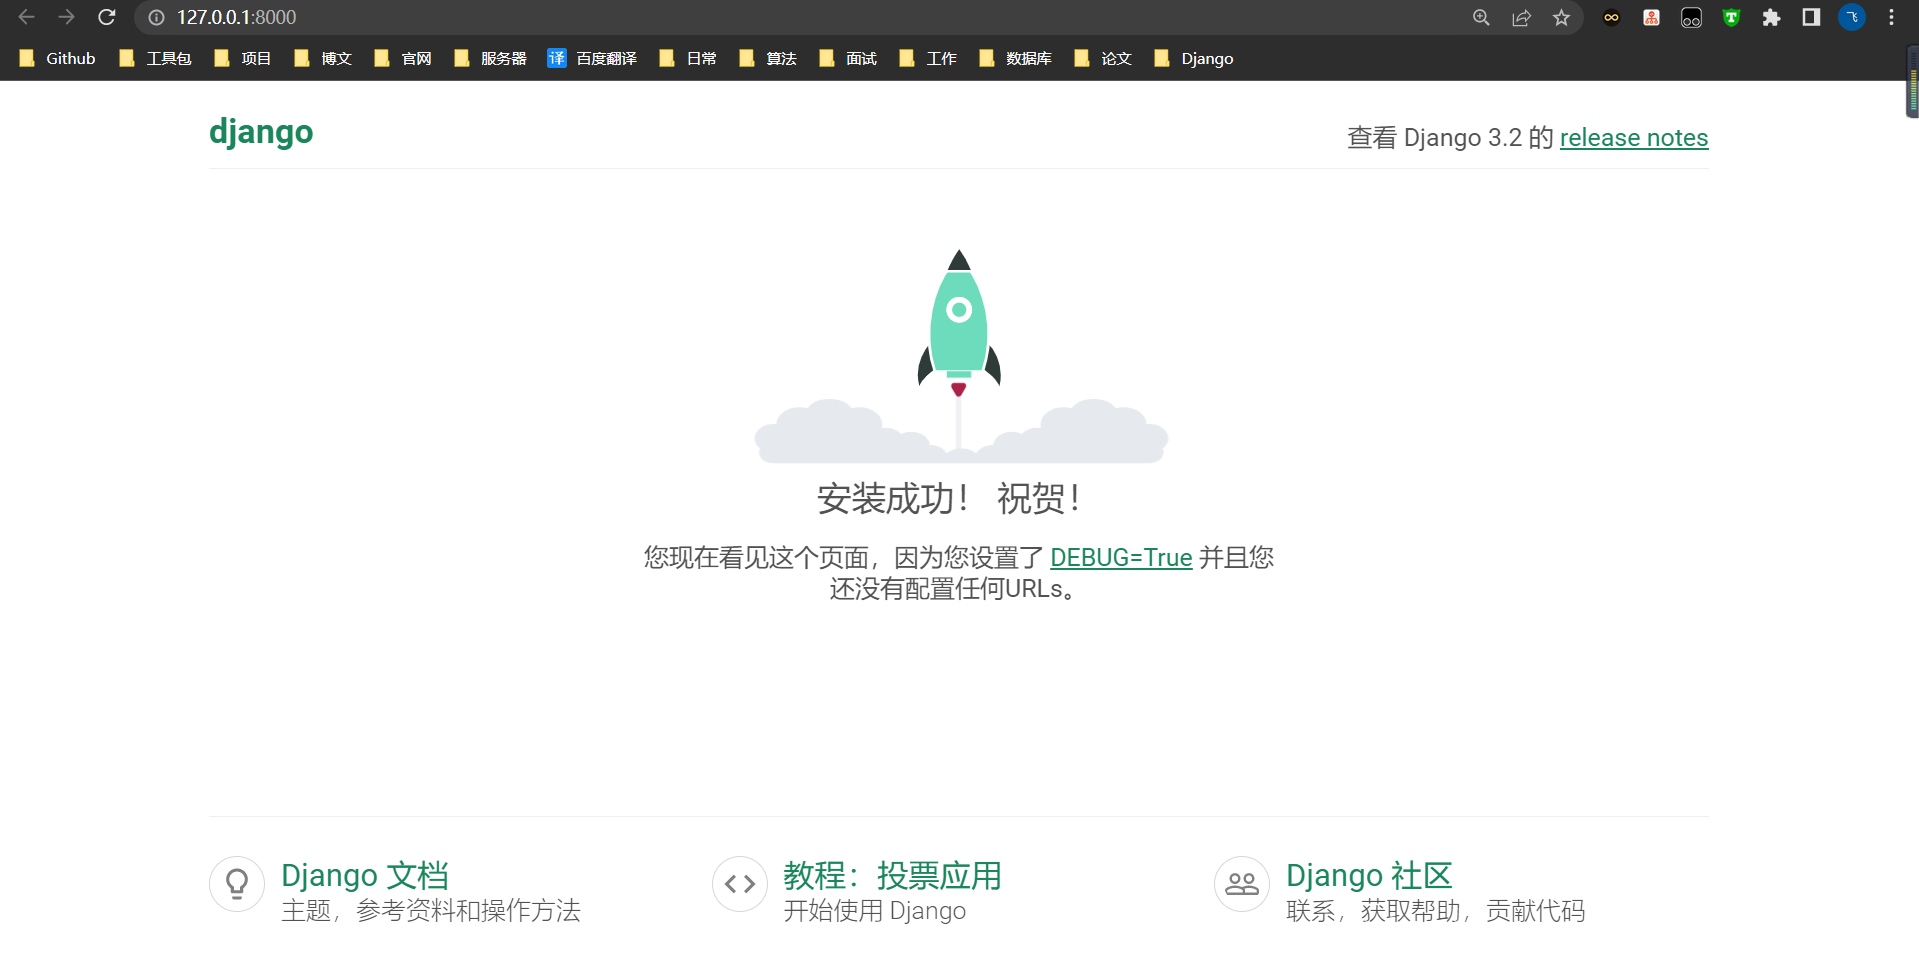
语言和时区
1
2
| LANGUAGE\_CODE = 'zh-Hans'
TIME\_ZONE = 'Asia/Shanghai'
|
关掉csrf防御
数据库
1
2
3
4
5
6
7
8
9
10
| DATABASES = {
'default': {
'ENGINE': 'django.db.backends.mysql',
'HOST': '127.0.0.1',
'PORT': 3306,
'USER': 'root',
'PASSWORD': '123456',
'NAME': 'drf'
}
}
|
连接MySql还需要下载库
在主项目下的 __init__.py中加入连接数据库配置
1
2
| import pymysql
pymysql.install\_as\_MySQLdb()
|
基本上到现在,一个Django项目的常用配置就好了
创建应用
创建一个students的应用
1
| python manage.py startapp students
|
注册应用到 settings.py中去
1
2
3
4
5
6
7
8
9
| INSTALLED\_APPS = [
'django.contrib.admin',
'django.contrib.auth',
'django.contrib.contenttypes',
'django.contrib.sessions',
'django.contrib.messages',
'django.contrib.staticfiles',
'students',
]
|
编写model类
1
2
3
4
5
6
7
8
9
10
11
12
13
14
15
16
| from django.db import models
class Student(models.Model):
SEX\_OPTION = (
(0,'保密'),
(1,'男'),
(2,'女'),
)
name = models.CharField(max\_length=20,verbose\_name='姓名',help\_text='姓名')
age = models.SmallIntegerField(verbose\_name='年龄',help\_text='年龄')
sex = models.SmallIntegerField(choices=SEX\_OPTION,verbose\_name='性别',help\_text='性别,0->保密,1->男,2->女,')
classmate = models.CharField(db\_column='classmate',max\_length=13,verbose\_name='班级',help\_text='班级')
description = models.TextField(null=True,blank=True,verbose\_name='个性签名',help\_text='个性签名,可以为空')
class Meta:
db\_table = 'db\_student'
verbose\_name = '学生信息'
verbose\_name\_plural = verbose\_name
|
1
2
3
4
| 迁移模型
python manage.py makemigrations
数据导入
python manage.py migrate
|
打卡数据库,可以发现我们刚刚创建的表,对于字段的一些配置参数,就不解释了,可以查看官网model的编写
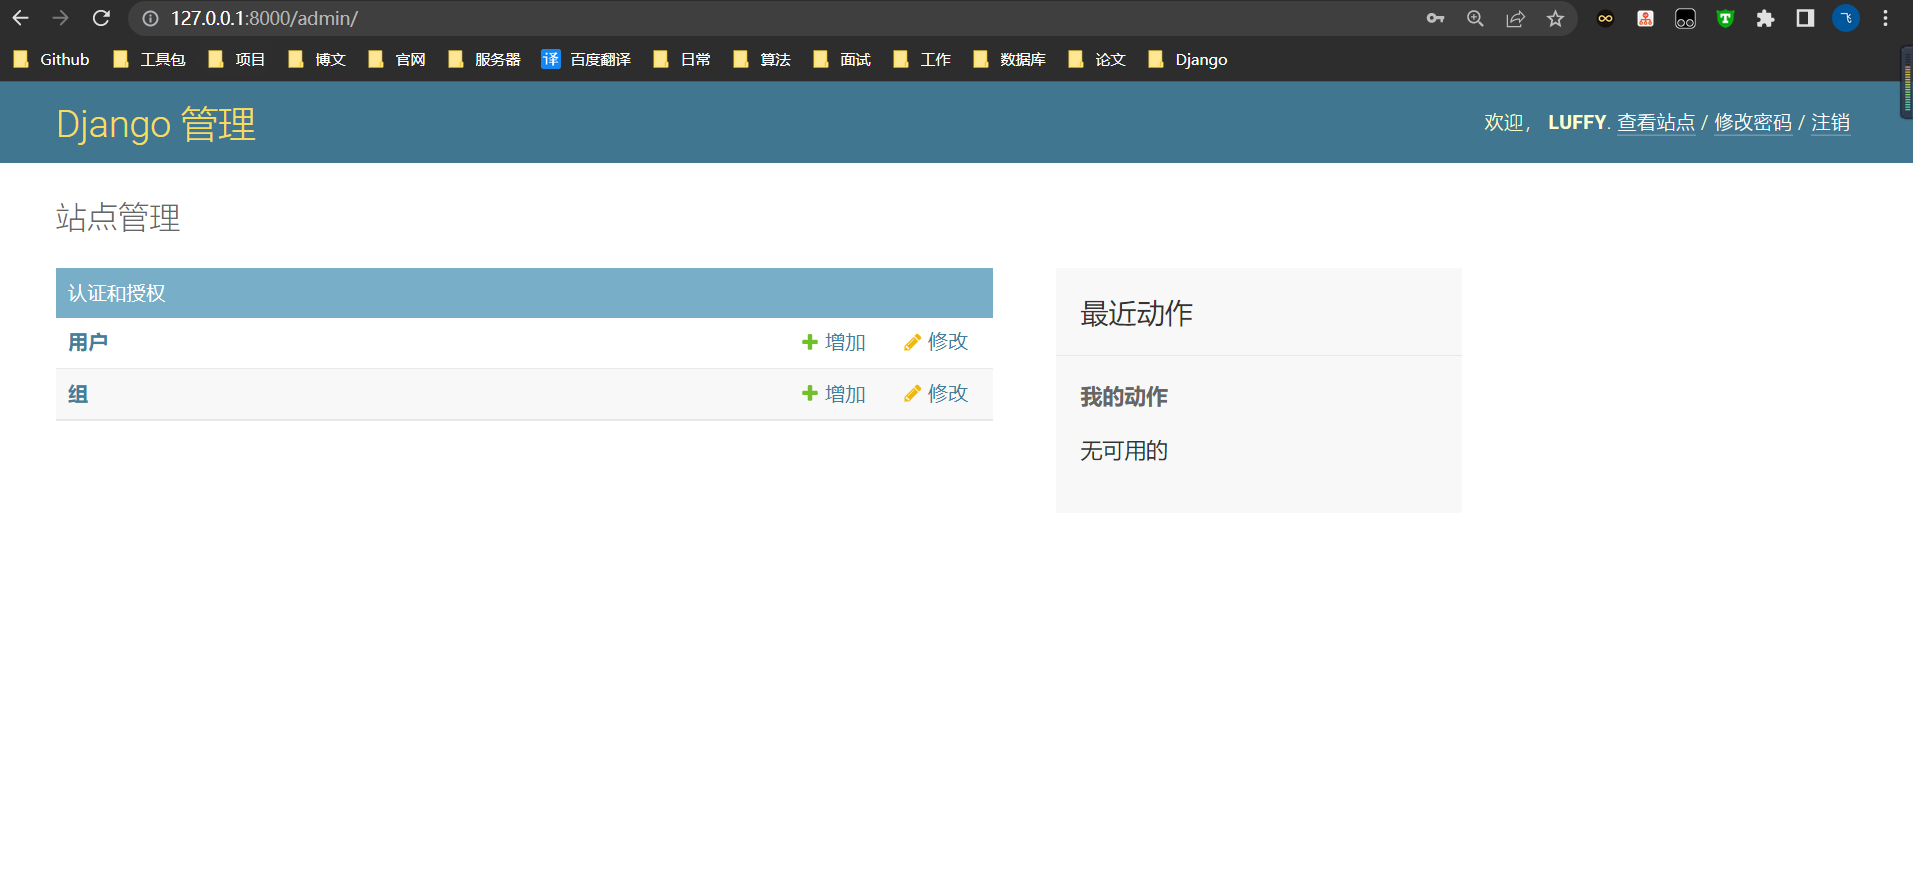
通过下面命令,创建超级管理员,可以用于登录django自带的管理员界面
1
| python manage.py createsuperuser
|
测试接口
简单编写一个测试接口,测试与数据库是否连接成功
drfdemo/urls.py
1
2
3
4
| urlpatterns = [
path('admin/', admin.site.urls),
path('stu/', include('students.urls')),
]
|
students/urls.py
1
2
3
| urlpatterns = [
path('test/',StudentsViews.test),
]
|
views.py
1
2
3
4
5
6
7
8
9
| class StudentsViews(View):
def test(self):
stus = Student.objects.all()
for stu in stus:
print(f'姓名:{stu.name}')
print(f'姓名:{stu.age}')
print(f'姓名:{stu.sex}')
return JsonResponse(data={'msg':'ok'})
|
请求结果,打印在控制台:
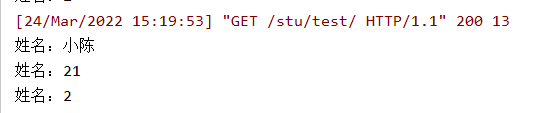
测试通过
整合DRF
DRF简化Django的操作,没有DRF,Django也能完成,只是编码会复杂一些,这里整合DRF做一个简单的例子,先不用理解里面的内容。
安装依赖
1
| pipenv install djangorestframework django-filter
|
把组件加入到setting.py中
1
2
| 'rest\_framework',
'django\_filters',
|
编写序列化器
1
2
3
4
5
6
7
8
| class StudentModelSerializer(serializers.ModelSerializer):
class Meta:
model = Student
fields = '\_\_all\_\_'
|
urls.py
1
| path('stu/',StudentsGenericAPIView.as\_view()),
|
views.py
1
2
3
4
5
6
7
8
9
10
11
12
13
| class StudentsGenericAPIView(GenericAPIView):
queryset = Student.objects.all()
serializer\_class = StudentModelSerializer
def get(self, request):
'''
获取多条数据
:param request:
:return:
'''
serializer = self.serializer\_class(instance=self.get\_queryset(), many=True)
return Response(serializer.data)
|
测试结果
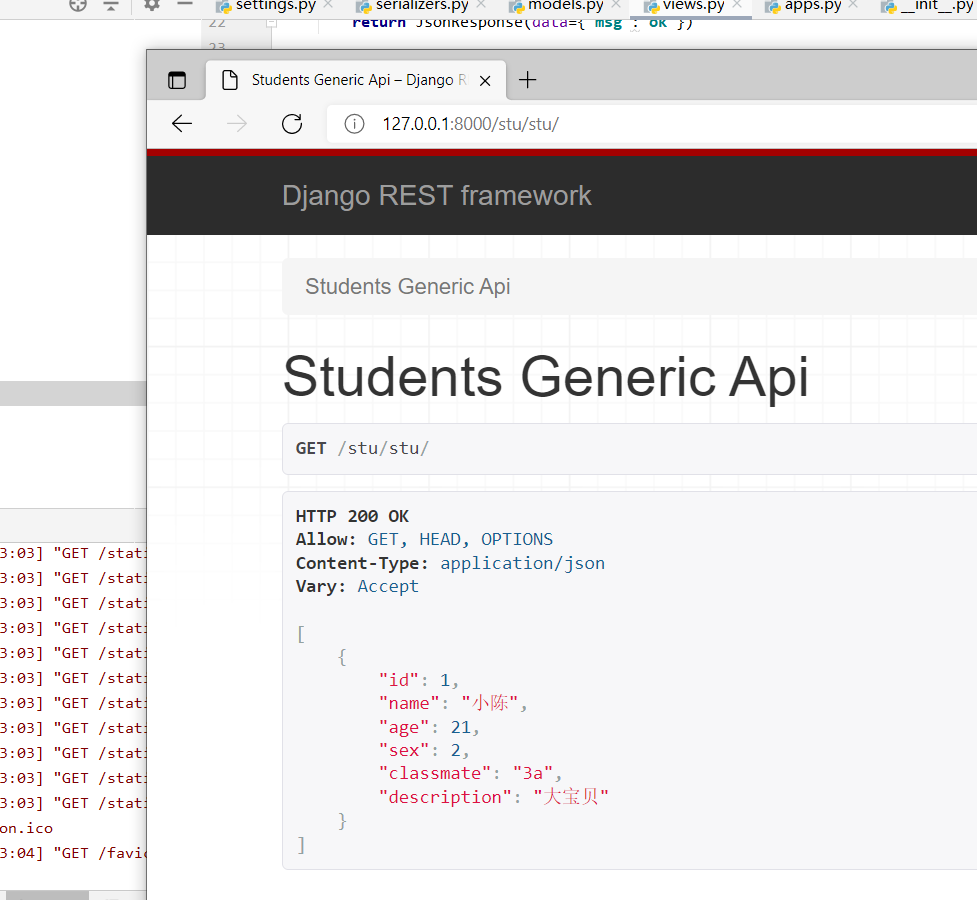
可以发现,自带页面,而且以json格式返回,写过Django的同学知道要是没用DRF,返回json格式是特别痛苦的一件事,要取出来遍历放入字典再返回,但是用了DRF通过序列化器,就直接能返回json数据,特别方便!